How To Make Matte Lipstick Not Crack
Sometimes it seems like matte lipstick has a mind of its own as it meanders off the mouth and takes up residence in those fine lines on the upper lip, or hides out in random cracks and crevices. Well, we see you lipstick, and you’re not getting away with it any more! It proves to be a particular problem when it comes to matte lipstick, since that type of finish tends to be less forgiving than a gloss or shiny coat. However, there are ways to work around this issue, and we’re here to help. First, let’s talk about how it happens. Then we can share some suggestions about how to get matte lipstick not to crack, crumble, or fade, and instead do what it’s meant to do…make a statement and turn heads!

Most lipsticks contain wax, oil, and pigment, among other ingredients. Wax, such as candelilla or beeswax, acts as a barrier against the outside world, sealing in moisture while protecting against the elements. It also provides some form and shape to the substance of lipstick. Wax is water repellant, and solid at normal temperatures, but softens with the body’s naturally warmer temperature. Oils help the color spread on smoothly and also act as an emollient, moisturizing and softening the skin of the lips. Pigments are the colored powders that give the lipstick its color. Some lipsticks might also contain ingredients that influence the texture, like silica beads that make a subtle matte, or bismuth oxychloride, which creates a shimmer effect.
When we’re talking matte lipstick, that generally means there’s a little less oil than the satin-finish or shiny lipsticks. This enables the pigment to remain rich and opaque. But while it may make the color pop, it often leaves the lips a little drier. Even some matte lipsticks that claim to be nourishing and moisturizing can still prove problematic if you don’t know how to prep that pout before applying.
Below you’ll find seven helpful hints and hacks to crack your matte lipstick conundrum.
Peruse the list and pick what works for you!
Bonus: 5 Tips To Moisturize Dry Lips
1. Take a little off before you put it on
As with other areas of your body, starting with a nice smooth surface is key. Since matte lipstick can act like a spotlight that points out all your imperfections, it’s important to do what you can to minimize the material it has to work with. Lipstick can stick to dry skin or gather in the cracks of your lips if you’re not careful. Exfoliation will help slough off dead skin in order to reveal the new, soft skin underneath.

You can always use the quick fix of toothbrush bristles or your washcloth to rub off dead skin cells and debris, but there are drawbacks to both. With a toothbrush you might scrub a little harder than necessary, causing the skin on your lips to break. And all too often washcloths are just a fluffy version of a science project, a petri dish of please don’t put that on your face – it’s been sitting out for days! A used washcloth will have dead skin cells trapped in the fibers, which is basically food for bacteria and other microbes. This isn’t great news for your face, as it could cause skin irritation, and even spread infection. That’s why finding a quality lip scrub or mask is crucial.
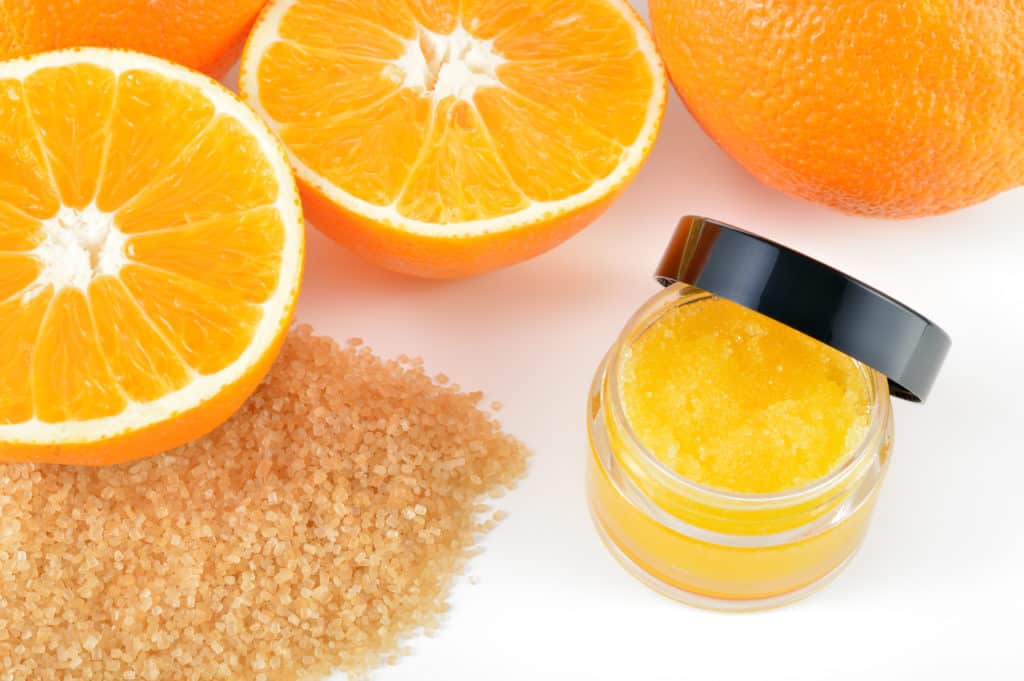
A good lip scrub will have an exfoliant like sugar or coffee grounds as well as nourishing and moisturizing ingredients like honey, avocado oil or coconut oil. This way you can get rid of that dry flaky skin and also soften and prime that pucker. There are plenty of products out there that do the job, or, if you want to make your own DIY lip mask, it’s easier than you think!
Here is just one of many, many recipes:
2. Mission possible: keep lips moisturized
After you’ve gently exfoliated it’s time to introduce some more moisture. Even if your lip scrub contains oils and natural moisturizers, you’ve already rinsed some off, so it’s best to add on a little more moisture with a hydrating balm.
When you’re looking for a good base layer balm, you’ll want to make sure it contains emollients and humectants that soften and moisturize, rather than occlusives, which are ingredients that lock in the moisture and protect lips. Here’s a quick refresher, or for those that aren’t already familiar with these terms. Emollients like aloe vera, stearic acid, and shea butter soften and smooth the skin by filling in gaps between skin cells and flakes with their oils. Humectants draw water into the epidermis (the outermost layer of the skin) both from the dermis (the layer immediately under the epidermis) and from humidity in the environment. Glycerin, honey, and hydroxy acids are all humectants. Some humectants also have emollient properties, and interestingly, some humectants like lactic acid can act as a chemical exfoliant in higher concentrations, and increase cell turnover. Luckily, no one is asking you to concoct your own recipes, and the beauty experts have got your back (or rather, lips, in this case!).
So when you’re searching for a hydrating balm, look out for some of those aforementioned ingredients. They seep into the lips, healing and moisturizing, whereas occlusives could theoretically just sit on top of a dry lip. Leave occlusives for the lipstick itself, or a later layer, after you’ve made sure to moisturize.
3. Prep that pucker with primer
Now that you’ve exfoliated and moisturized, it’s time for the next step. Actually, before you take that step, it’s a great time to ensure that the lip balm that you applied has settled into your skin, and has been mostly absorbed. In other words, it’s the perfect time to do the rest of your makeup. Once a few minutes have passed, you can make the rounds back to your mouth. Treat your lips like a work of art, and prime that canvas before you paint it with color.
Primer. It may be the most overlooked of all the makeup siblings. Lipsticks and liners get a lot of attention, and lashes may be all the rage, but don’t leave primer out to dry. It does a thankless job, so give it a little credit where credit is due. Primer helps to create a cleaner, smoother canvas so that lipstick can glide on nice and smooth. It is a key player in preventing cracking and feathering. What is feathering, you ask? Well, besides being a super groovy thing that heartthrobs of the 70s and 80s did to their hair, feathering is when your lip color spreads into the little lines outside your lips, either above or below your lip line. It’s definitely not as cool as the hairstyles of Farrah Fawcett or any of those boys in the Bee Gees. And yes, that was indeed cool at the time, and is kind of making a comeback.
Just remember that when it comes to your lips, feathering isn’t ideal, cracking isn’t cool, and smooth and soft is what you seek. Consider this your fortune cookie kernel of truth for the day.
Bonus: Best Lip Gloss For Dry Lips In 2020
4. Fall in line, and use that liner
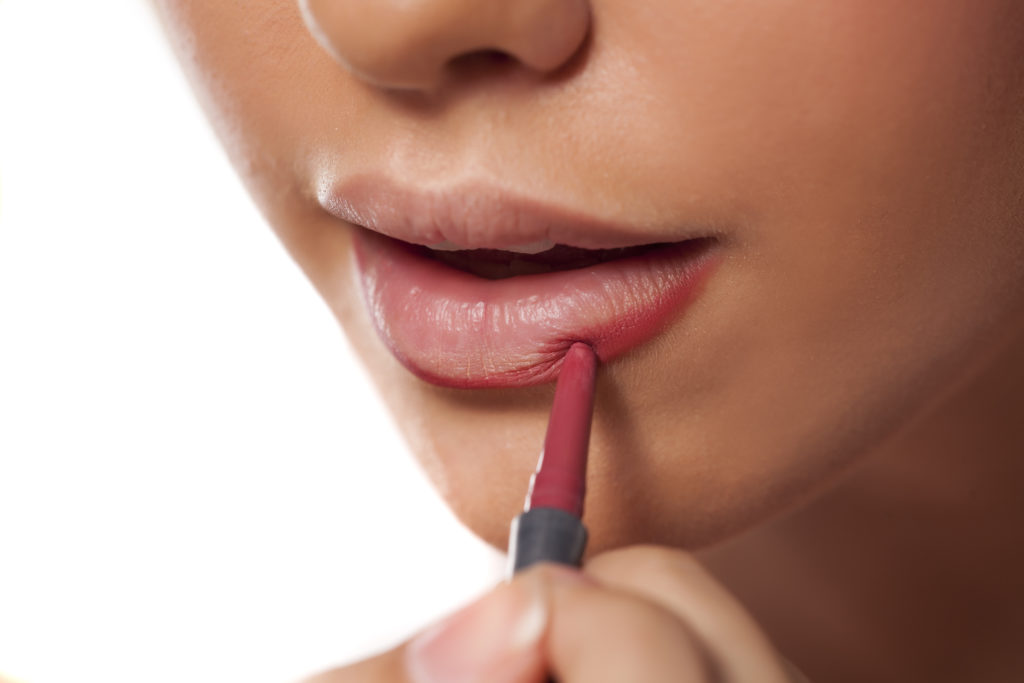
Lip liners are built to be long-lasting. They help your mouth have that smart, sharp edge that gives off a professional, polished look. Some people stray away from lining their lips, thinking that it will result in that overdone or extreme outline effect that was trendy for a hot minute a couple decades back. However, the important thing with lip liner is to remember that you get to decide how to use it, and it can be your little secret weapon if wielded correctly.

First, you’ll want to select a shade that matches your lipstick closely. (That is, unless you do want to do that late 90s look). If you’re going for something more contemporary, picking a lip liner that aligns with your lipstick makes sense. Another tip when it comes to application is to fill in your entire lip. Especially if you skip the primer, it’s a good idea to give the lipstick a little something to grab onto. If you don’t want to fill in the whole lip with liner, you can choose a couple key spots, like that cupid’s bow at the top of your lip. When you’re following that M shape along the lip, you can keep drawing to make a little X from the top of the lip down into the lip. Then you can choose to draw a few other vertical lines, or just bring in the liner inside the lip a bit.
It’s a good idea to pack that lip pencil along with your lipstick if you’re heading out for any length of time. That way you can retouch as needed. Also, right after you line those lips, you can even use a touch of concealer around the edges to further accentuate a clean line. Just be sure to blend it with the rest of your foundation – and not with the same finger that has the lip color!
5. The star of the show – the lipstick itself!
And now, the moment you’ve all been waiting for, the velvety, the dramatic, the luxurious lipstick! The return of the matte, if you will. Matte lipstick is making a comeback and is always a nice option to have in your beauty toolbox. A matte lipstick is a classic look, especially when it comes in that Hollywood starlet unforgettable red. But there are other options as well, from subtle nudes to bold choices like burgundy or deep purple. Any which way you choose to play with your color choices, there are a couple things to keep in mind.
With a lip gloss or shiny lipstick you can swipe it over your lips a few times without worrying about build-up, caking, or cracking. With a matte lipstick, you’ll want to be careful to get the right look the first time, with one perfect layer. Because the pigment is concentrated and appears more opaque than with a wet finish, be sure to go slow and spread it on nice and smooth. Especially after you’ve taken the time to exfoliate, moisturize, prime, and line. Enjoy the main event and remember the rule when it comes to matte lipstick application: one and done!
6. Pop it, blot it, set it and forget it
You may be wondering if this is some sort of an attempt to give a break dancing lesson. It’s not, but let’s break it down, shall we? In this context, ‘pop it’ means that after you apply your lipstick, you can place one (clean) finger in your mouth almost like you’re singing along to that old song “Lollipop,” and are about to make the pop sound. The point of this is to prevent lipstick from rubbing off on your teeth.
Next, you can blot, or gently press your lips against a square of toilet paper (or coffee filter, or whatever works for you). You may have seen people put the tissue between their lips, but since you’ve already done the pop, you don’t need to put the focus there. In fact, when lipstick fades it tends to rub off first around the center or opening of your mouth, so you don’t want to accelerate that by putting the paper between your lips. Rather, press your relaxed mouth very gently against that square of TP.

If you can spare a square (wink, wink – that’s another throwback to the 90s), then use one more piece of toilet paper (one ply), hold it in front of your lips, and stipple or lightly brush some translucent powder over it. Just the right amount will seep through, and that concludes the ‘set it and forget it’ portion of our lesson.
7. Touch it up, buttercup!
Finally, if you are heading out and debuting your matte lipstick look for the first time, it’s never a bad idea to bring make-up remover, a cotton swab, and the lipstick itself along with you. You may need a little touch up, or to correct a problem area that popped up unexpectedly.
Now you know not only how to make matte lipstick not crack, but also attain a picture perfect pout. If you’re looking for a lipstick that’s as moisturizing as a matte can be, check out Viviane Woodard’s Luxury Matte lipstick, which glides on smooth with a velvety finish. There’s a wide array of gorgeous colors like a classic red, dubbed Marilyn, or a warm and subtle pink, called Angelina. As a bonus, there’s a suggested gel lip liner that pairs perfectly with each lipstick, so the only real question is how many looks do you want to try tonight?
Keep Reading: 11 Ways To Make Your Own DIY Lip Mask
For over 60 years, Viviane Woodard has represented “The Purity of Skincare”. We are the leading beauty brand for water-based skin care products and promote the importance of good skin hydration. Follow us on Facebook, Instagram, Twitter, and Pinterest for skin care tips, product discounts and more.
