3 DIY Facial Recipes for Dry Skin
I can recall a commercial from a few decades back where a woman is writing the word “Dry” on the back of her hand. Why was she practicing penmanship on her desiccated skin? Was it just for attention, or perhaps for dramatic effect? We may never know what other messages or distress signals she managed to scribble on her skin, but it was apparently a rather effective ad if I’m talking about it in 2020, and I’m sure several of us can still relate to her predicament.
The Solution: Advanced Anti-Aging Night Cream ™ Moisturizer & Gluten Free Skincare

All kidding aside, a lot of us have had days, or weeks (or lifetimes!) dealing with dryness, and we can all use help when it comes to combating cracked, withered and wilted skin. Even if you use moisturizer regularly, sometimes you need a little something extra to really rehydrate. Facial recipes especially designed for dry skin are the answer to the question you didn’t ask but probably should have. When it comes to bolstering your natural beauty and making sure moisture is a priority, there’s not one silver bullet, but rather several things to keep in mind.
One important piece of information to remember is that your skin is the largest organ of your body, and therefore inextricable from your overall health. It’s essential to keep hydrated and to try to eat foods that help, not hurt, your health. Drinking a lot of water is of course critical to this endeavor, so try to find ways to make it part of your regular routine. We happen to have some of this nutritional information handy in another post, so if you’d like to hear more about fatty acids, leafy greens, and other foods that fuel your system and support healthy cell membranes you can click on over to read about moisturizers and all that jazz. If you want to get to the moisturizing masks and DIY facial recipes for dry skin already, then you’re almost there.
See Related: How to Use Eye Gel
Before you dive in and do it yourself with any of the recipes below, you should make sure you don’t have sensitivities or allergies to any of the ingredients. You might also want to discuss these types of DIY options with a dermatologist. As many experts will tell you, it’s always a good idea to do a patch test. That simply means you can test the mask (or the separate ingredients it contains) on the inside of your forearm for as long as you’ll be leaving the mask on your face. Then, after you rinse it off, observe it for the next few days to see if any reaction, like itching or redness, occurs. If so, opt for some alternatives. Chances are you’re already aware of any allergies you have, but it’s always okay to play it safe.
Now you can climb up to that diving board and jump into this pool of perfectly moisturizing, almost-magic moisturizing masks. Here are our three DIY facial recipes for dry skin:
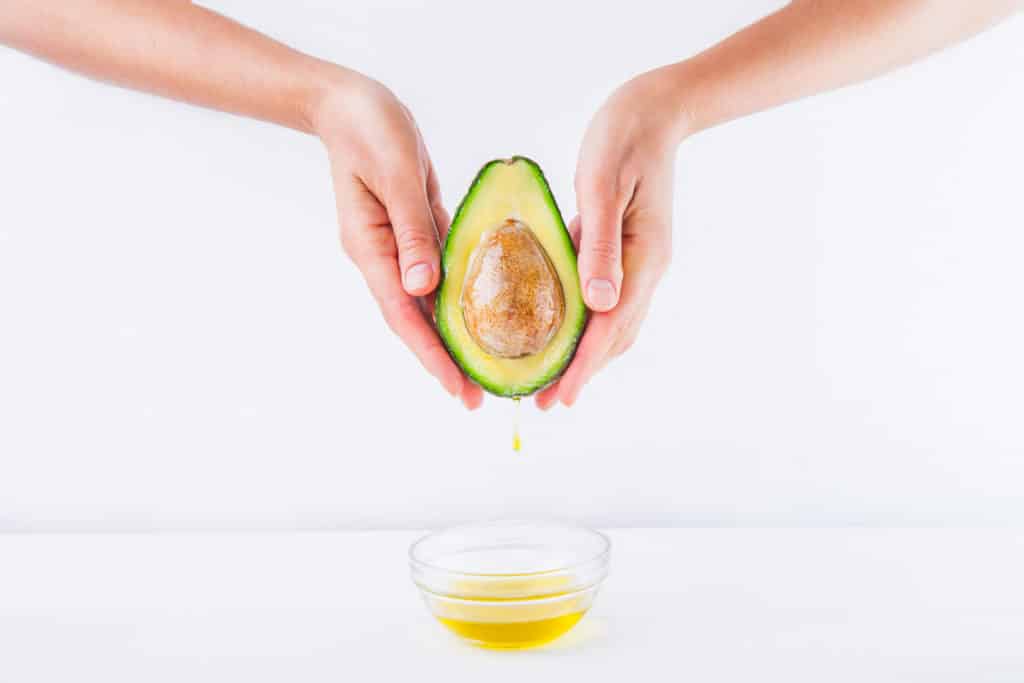
1. A standing ovation for olive oil & avocado
If you thought the only place for olive oil and avocado was a salad plate then you’re in for a delightful surprise. Add in some yogurt and you’ve got the makings for a great moisturizing face mask. And if any of it accidentally gets in your mouth, no harm no foul.
If you’ve heard that olive oil and avocados can be beneficial for skin health, but weren’t sure why, there are several reasons. They are both rich in fatty acids, and vitamins A and E. Essential fatty acids are part and parcel of healthy cell membranes and help create our skin’s natural oil barrier. They keep skin looking supple and youthful because they help with hydration. Fatty acids can also reduce inflammation, which aids in the relief of a number of skin ailments, like acne.
Another thing olive oil and avocados have in common is that they contain antioxidants like lutein, which has been shown to help protect skin from the damage that can be caused by ultraviolet (UV) light. That, of course, is not only an asset in the fight against skin disease, but also helps to lessen wrinkles. On a side note, you could even go full Sophia Loren and take an olive oil bath by pouring a few cap-fuls of the stuff while filling your tub with water. There’s no guarantee that you’ll end up looking like that goddess Sophia, though. And in fact, you should be careful getting in and out of the bath if you do add olive oil because the only sure thing is that it will be extra slippery.

But let’s get back to the recipe at hand, which is just for your face, and still has another active ingredient: plain yogurt. That’s right, plain yogurt. Or is it so plain after all? When yogurt is applied to the skin it can dissolve dead skin cells due to the lactic acid it contains, and prepare the skin to absorb the nourishing elements of the other ingredients. So let’s get to making this mask, shall we?
Make sure you have the following items before you begin:
1 avocado
2 tablespoons of plain yogurt
1 tablespoon of olive oil
To begin, simply remove the skin and seed from a ripe (but not overripe) avocado and mash it up in a bowl until it’s creamy and smooth. Then mix in 2 tablespoons of plain yogurt, and a tablespoon of olive oil until it is blended thoroughly. Make sure your hair is pulled back out of the way, and apply the mixture to your face. Leave it on for 15 minutes as you kick back and try to resist dipping a chip in it. (I always set some avocado aside to munch on.) Then, rinse off with warm water and pat dry. If you’ve applied an ample amount, you may want to remove some of it with a tissue before sending it down the bathroom sink. This recipe generally yields enough to split with a friend, so it’s perfect to share with your best buddy or make some mother-daughter face mask time. Any which way, you’ll be saying adios to dry skin and ciao bella! to a beautiful, moisturized face.
See Related: How to Use Vitamin C Serum
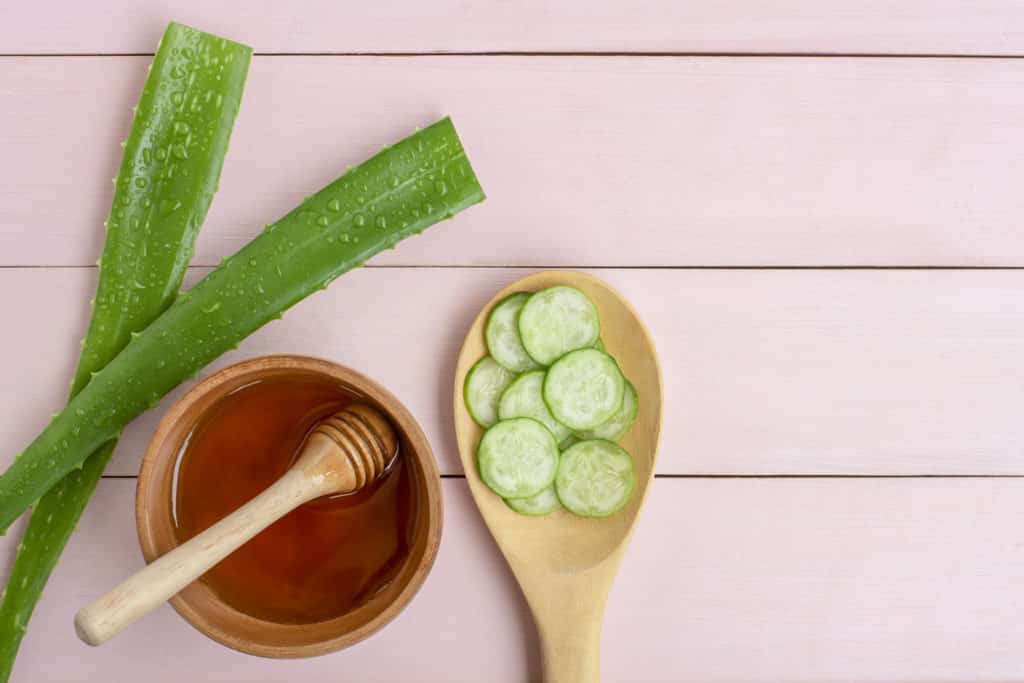
2. ‘Allo ‘Allo! to Aloe Vera, cucumber, and honey
For the three people who caught the reference to that old British TV series, then you know your onions, and Bob’s your uncle, you cheeky ledge! And if not, then no worries, mate. We’re here to talk about some more tips and tricks to take away that dryness, and bring back some much-needed moisture in a matter of minutes.
Aloe Vera is about as close to a super plant as you can get. Many already know that it can soothe a sunburn, but it also helps heal the skin in other ways. Packed with antioxidants as well as, it can protect the skin against free radicals and allow for the absorption of vitamins A and C, which are also present in the plant. The enzymes in Aloe Vera can like an exfoliator, so it’s best when used in combination with other moisturizing ingredients.

Did someone call for cucumber? If you’re searching for an ingredient that contains some moisture, look no further. The cucumber is 96 percent water and generally a great addition to a DIY mask even for those with sensitive skin. However, water alone won’t do the trick, so we’re still going to add something to sweeten the pot. And what’s sweeter than honey? Well it’s actually not the sweetness that makes honey so hydrating. It’s the fact that honey is a natural humectant, which means it holds onto water and binds it to the skin, thus hydrating and nourishing the outermost layer, or epidermis. When you add all these ingredients up you get a mixture that soothes, softens, and moisturizes. And that’s cool as a cucumber.
To make the mix, you’ll need
2 tablespoons Aloe Vera gel
1 small cucumber or ½ of a regular cucumber
1 tablespoon of honey
Cut your cucumber into slices and toss them in a blender, add two tablespoons of Aloe Vera gel. If you have a container of gel, it’s simple to just measure it out, but if you need instructions on gathering the gel from the plant itself, check out our post for a step-by-step recipe tutorial. Next, add the tablespoon of honey, and blend the three together until smooth. Pour into a container from which you can easily spread the mixture over your face and gently massage it in. It may get a little messy, so you might want to have a towel nearby, or just make this an outdoor activity. When you’re all done soaking in the goodness (about 20 minutes or so), rinse off your mask, pat dry, and run your fingers over that smooth and supple skin of yours.
Bonus: What is the difference between moisturizer and lotion?
3. The beauty break breakfast facial
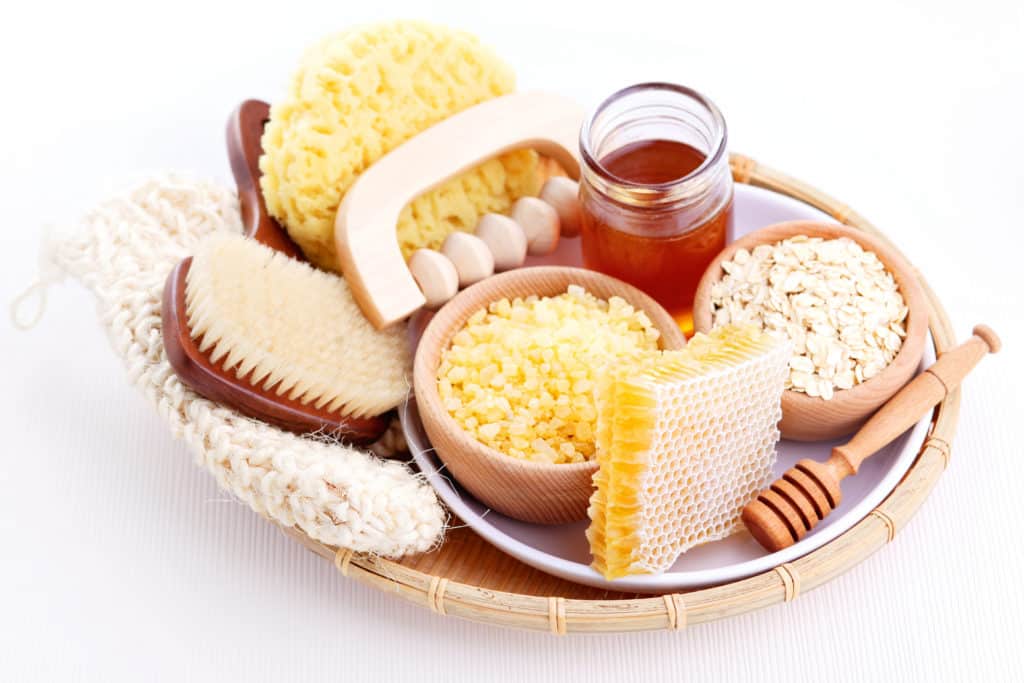
While you can make and enjoy this moisture mask at any hour of any day (what is time anyway?), we call it the beauty break breakfast facial because it contains just what you might make to get you going in the morning. (And you could even throw in a coffee face scrub right before it!). This is a simple mask with oatmeal and honey, though you can opt to throw in a banana if you want to add some silica, which may give a boost to the skin’s collagen production. If not, the oatmeal and honey will still be more than enough to provide you with a marvelous moisturizing treatment.

The oatmeal acts as both an exfoliator and a natural moisturizer. It can calm skin and even help unclog pores with the saponins, which are cleansing chemical compounds present in the oats. And as if that weren’t enough, we still have the honey. As noted above, honey is a humectant that helps seal in the moisture.
First you need to blend the oats into a powder. If you happen to have a packet of instant oats, you can use that, or, measure out about ¼ to ½ a cup of oatmeal and toss it into a food processor. Once you’ve made it into oatmeal flour, measure out just a couple tablespoons into a mug or bowl. Then add two tablespoons of boiling water to the oats and stir it up. Next, add two tablespoons of honey (organic or manuka honey are preferable), and mix well. Remember that you can add that optional banana now, if you like. Just half a banana will do the job.
You can apply this mixture to your face with your fingers or a clean makeup brush. Leave the mask on for about 15 minutes, and when your timer lets you know you’re all done, rinse off with warm water. The last step is to pat your face dry, and be sure to be gentle. We often forget that pulling or rubbing too roughly on the sensitive areas of our skin, such as our face, can do damage over time.
Luckily, for this recipe we have a video tutorial to help you along.
Each and every one of these facial recipes can (and should) be followed up with your regular moisturizing routine to further lock in the moisture and not waste all that wonderful work you just did. What’s that? You say you don’t have a regular moisturizing routine? If you’re someone who just grabs whatever lotion is on sale as you leave the supermarket, there’s no shame in that. Sometimes we don’t have time to do much research or remember that recommendation we heard from a friend, and we settle into old habits. But when we really want to see a difference in our skin and take that moisture game to the next level, it’s worth it to try something tried and true.
Over 60 years ago, Viviane Woodard set the industry standard for the cleansing, toning, and moisturizing steps we still follow today. The cleansers, toners, and moisturizers that make up the Viviane Woodard Moistrio sets were the first osmosis-based skincare treatment of their kind, and have brought smiles (but fewer smiles lines!) to the hundreds of thousands of people who have used the products. Starting at the cellular level, these water-based products plump, hydrate, and heal. And depending on which formula you prefer, you can focus on fighting blemishes, dealing with the dilemmas of more mature skin, or addressing the difficulties in caring for combination skin. With regular use of this three-step routine, you’ll see and feel the difference in your face.
All Viviane Woodard products are cruelty-free, so you can also feel content in contributing to a company that cares.
Keep Reading: When To Apply Sunscreen
—
For over 60 years, Viviane Woodard has represented “The Purity of Skincare”. We are the leading beauty brand for water-based skin care products and promote the importance of good skin hydration. Follow us on Facebook, Instagram, Twitter, and Pinterest for skin care tips, product discounts and more.
